How to Quickly Improve Your Photographs
It’s not hard, I promise.
I’m not a professional photographer by any means. I appreciate photography and at some point in my life was obsessed about it, but I’m too lazy to carry around a heavy dSLR anymore. So as a compromise I do a little photo editing on my phone to try to balance out my need for a nicer camera. These days, any modern smartphone will probably be enough to do the trick.
Phone cameras have come a long way, but there’s still a lot to be desired in automating a good photo. A little part of me dies inside when I’m scrolling through my feed on Facebook or Instagram and I see awesome photos that are ruined by a lack of attention to editing. True, most people don’t care, but I like to try to convince people that just a little bit can go a looooooong way.
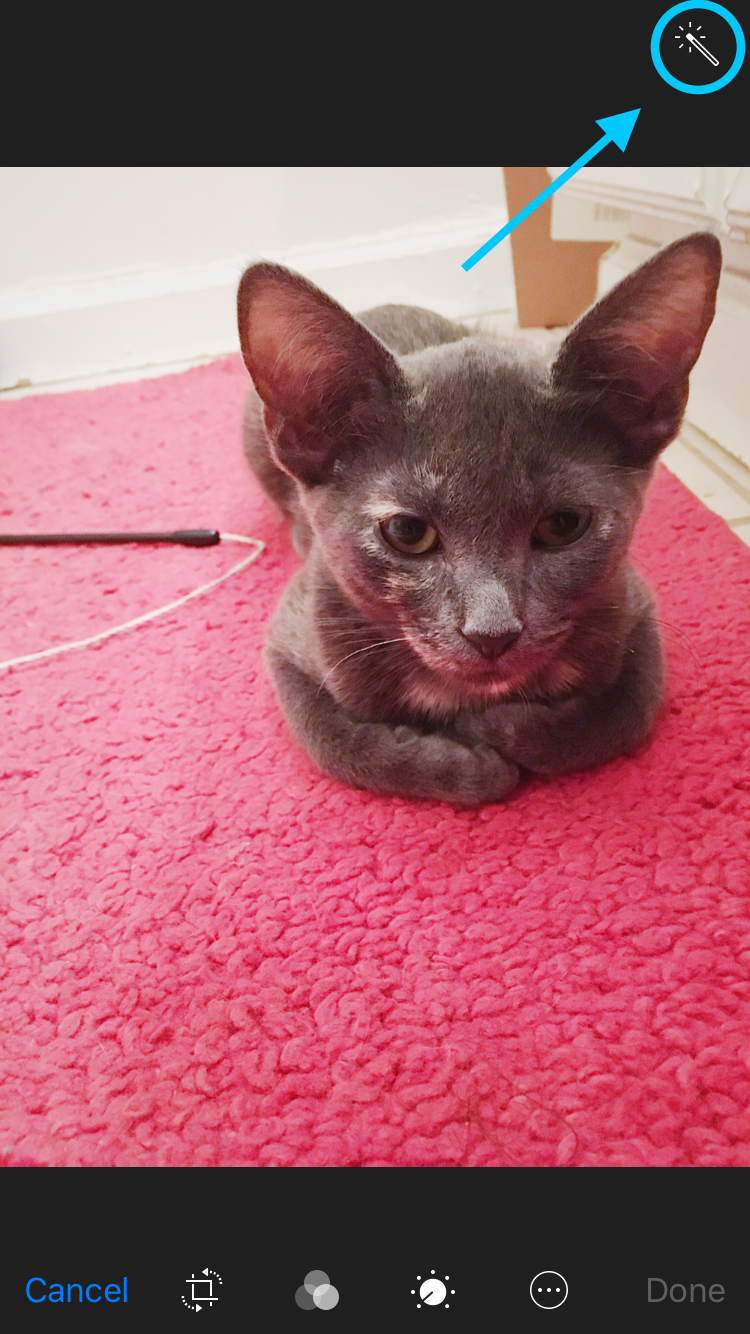
Hell, Apple even has a magic wand button for 1-click photo improvements:
So if you’re reading still, here’s a before and after example of what can be done on a phone:


And here are some thoughts on how you can vastly improve your photographs (like the above) with pretty minimal effort:
Composition:
- Use the Rule Of Thirds to help you shoot a better framed photo.
VSCO is my go-to app for editing, but you can more or less just as easily do this with the default iPhone Photos app or in Instagram.
Editing:
By no means will all these editing techniques fit your style, but here are suggestions based on what I generally adjust.
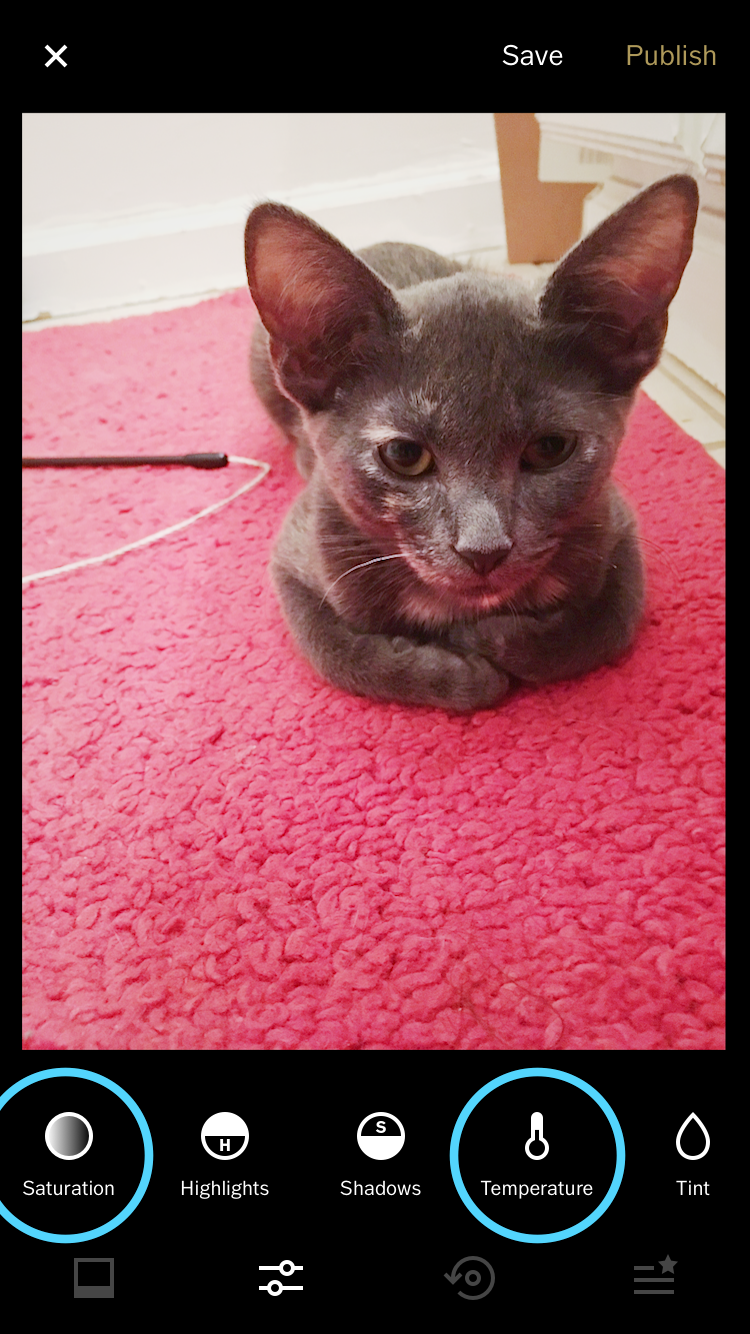
The 6 Best Settings to Adjust:
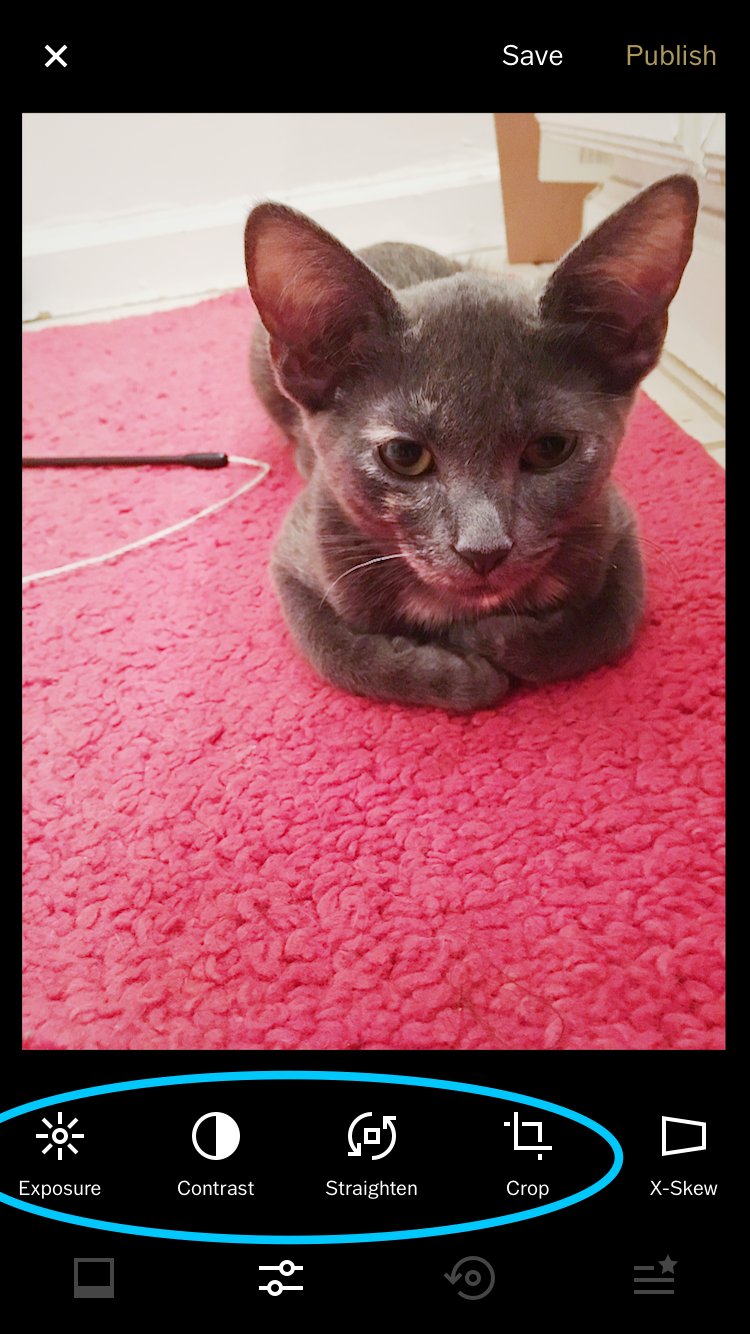
- Lighting: Most likely, your picture is going to be too dark unless you shot it in bright natural daylight. Turn that brightness up to see if it makes a difference.
- Contrast: If you turned up brightness, the photo might need a little more contrast (black) to be added in.
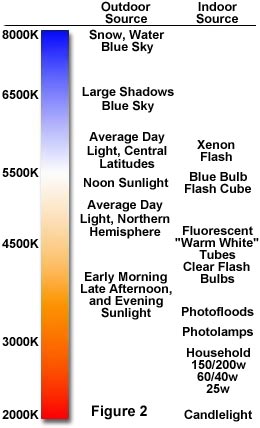
- Temperature: Light from different sources (fluorescent, natural sunlight [at different times of the day], etc.) have different color temperatures. This causes certain lights (as perceived by the camera) to look more blue or more red depending on the camera’s ability to white-balance. Typically indoor photos can use a lot of help with lowering the temperature to make whites in the photo look more white.
- Crop: This can help you achieve a the Rule of Thirds or some other interesting compositions.
- Straighten/Rotate: Imagine you’re standing up straight and your perspective is exactly as you see in the photo… does your vision look crooked at all? If there are vertical or horizontal lines in the photo, consider rotating your photo to straighten them if that makes sense for the photograph.
- Saturation: Add more color to make colors pop in the image? Or dull them to make it more grayscale?

The first 3 adjustments (light, contrast, temperature) will usually be enough, but that’s really it. Play around with those settings until the photo looks to your taste… it’s not so bad. :)
photography